Activating and Deactivating Users
Once you set up your user roles, you'll need to add user accounts for the people who need access to those roles. Each user associated with your store will have their own login information that they can use to access your account.
Adding a User
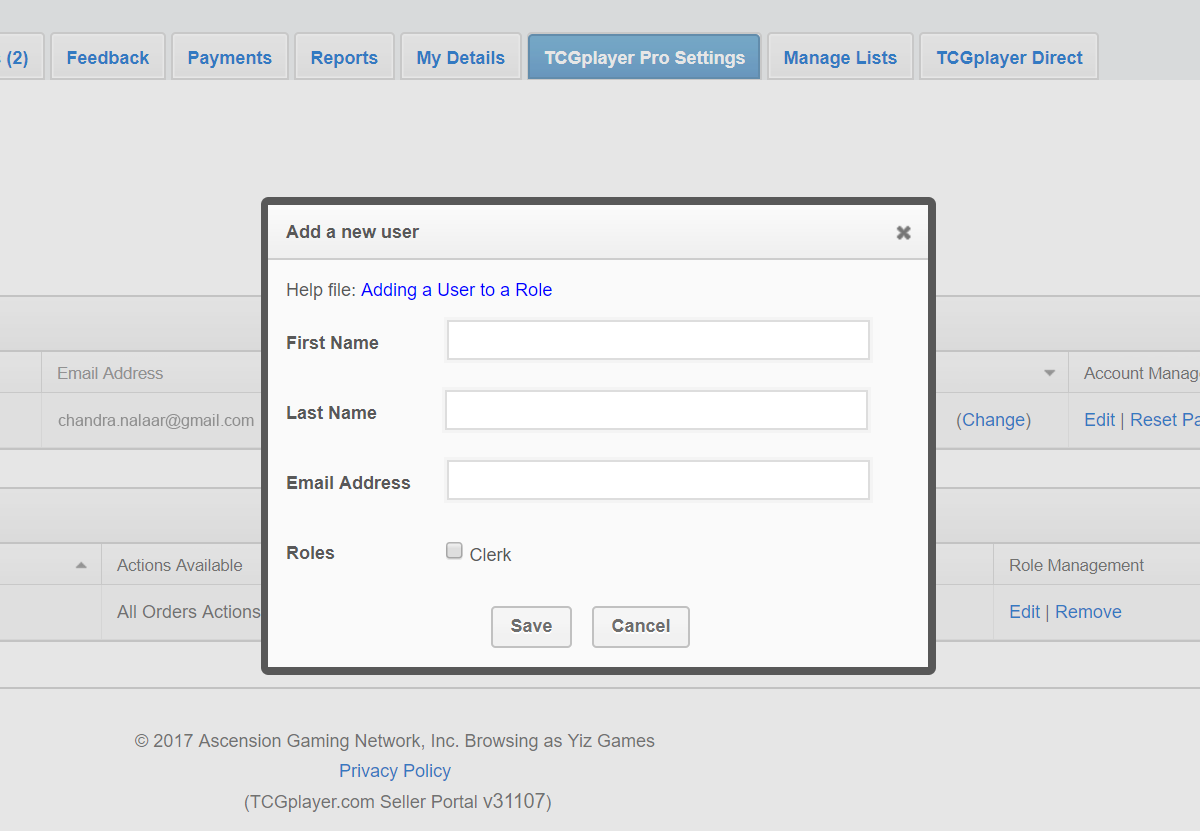
Adding users to your store account is simple. To start, click on the TCGplayer Pro Settings tab, then click "Set User Roles" and "Add User". This is where you'll be able to customize your users. By default, the store account owner will be the only person who's able to access this tab.
When adding a new user to your store account, keep in mind:
- The email address associated with these accounts cannot be associated with any current TCGplayer accounts. We recommend that you create email addresses for your store and associate them with these accounts.
- When you add a user, you'll be prompted to select a number of roles for that user. If you don't assign any roles to a new user, they'll be prompted to contact the store administrator for access.
- Once you add a user, you'll be able to change the first and last names, but not the email address. Once you save the user, an email with steps on activating the account will be sent to their email address. Make sure the user does not have a seller account on TCGplayer, as this will create the account login for TCGplayer during this step.

Deactivating a User
If you'd like to remove a user so they can no longer access your store account, you can easily deactivate that user from your store by selecting "Change" when the user is Active.
Once you deactivate a user, keep in mind:
- The user will be displayed at the bottom of your user list and you'll be able to activate that account again if you'd like.
- That user will have no roles available to them and won't be able to access any information regarding the store account.
- You will not be able to edit the account while it is inactive.
- An inactive user will be able to log in. If they do so, they'll be prompted to contact the store administrator for access.

Reactivating a User
You're able to reactivate users who have been deactivated by selecting "Change" when the user is Inactive.
Once you reactivate a user, keep in mind:
- The same name and email address will be maintained, along with the associated password information.
- Their account will be Active so you can edit the account and add roles.

Resetting a User Password
If you want to reset a user's password, you can do so by selecting the "Reset Password" button in the "Account Management" section.
Resetting an account will send an email that allows that user to create a new password.

Removing a User
If you want to remove a user, you can do so by selecting the "Remove" button in the "Account Management" section.
We'd love your feedback on this feature. To give us your input or get answers to your questions, please contact us.
Change Log
- 3/14/23 - Added "Removing a User" section.