How Do I Set Up My Pro Website?
As a Pro Seller, you automatically qualify for a Pro Website, which allows you to set up an exclusive channel for your customers to purchase directly from your site! After enabling your “My Store” channel on your channel settings, you can then set your channel prices and quantities for both your TCGplayer Marketplace and My Store on your pricing tab!
You can create your Pro Website in a few simple steps:
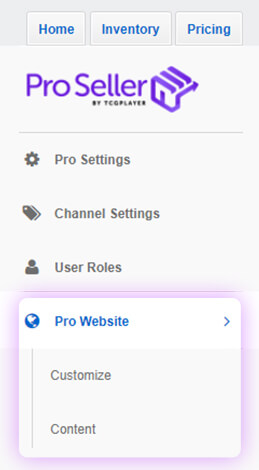
- Navigate to TCGplayer Pro Settings in the Seller Portal
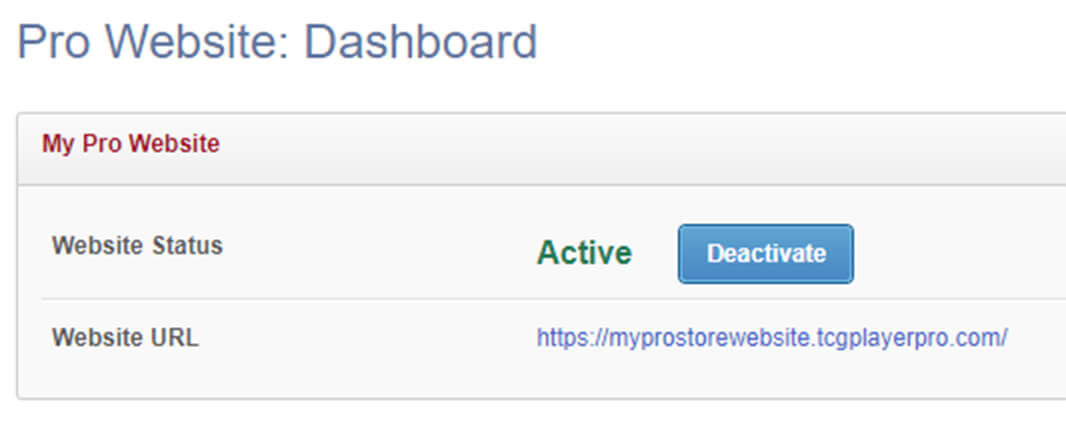
- Go to Pro Website: Dashboard
- Click Activate under the Website Status
Pro Website Section
This section has an option to let you activate or deactivate your website. It also has a link to your site, if you ever needed to turn it off for some reason.

Customize Section
Here you can customize and update your site content. Personalizing your site is key to establishing your brand and should be one of the first things you do after you sign up for Pro Seller by TCGplayer.

Site Name
Enter the name of your website. This will appear on the browser tab and in the copyright at the bottom of that page.
Logo
Upload your website logo. This image will appear in the top-left corner of your website. Your logo should be 235x50 pixels.
Favicon
Upload your website favicon. This will appear on the browser tab. Your icon should be 16x16 pixels.
Theme
Select a light or a dark UI theme for your website. This will adjust the background color on your website to be light or dark. It will also change the font color to be readable for the theme you select.
Your Brand Accent Color
Use the color picker to choose your website’s primary accent color. This accent color will appear in several areas of your website, like the menu bar and buttons.
Font
Select from a variety of fonts that help your website stand out. This will change the font on the website.
Hours
Add hours information. This message will appear on the bottom of your website page.
Footer Message
Add footer message. This message will appear on the bottom of your website page.
Social Media
Enter the social media links you would like displayed on your website. These will appear as icons on the right side of the menu bar and in a social media section on the right side of the footer.
Custom Domains
TCGplayer does not have the ability to manage custom domains nor SSL certification for custom domains for your Pro Website. However, you can work directly with your domain provider to forward or redirect your custom domain to your new Pro Website.
We recommend reaching out to your domain provider for step-by-step instructions on how to set this up. Make sure you have your Pro Website URL handy, which can be located right on your Pro Website: Dashboard. Please remember to use the entire URL starting with the “https://” to make sure your site is redirected correctly!
The Content Section
Here you can set up the content of your website by setting these items. You will have a couple of items already created for you but you can add more by clicking the + Create New button in the upper right corner of the interface. You also edit or delete items by clicking on those icons. Note: Home is a root-level item and can’t be deleted.

Each item type is detailed below.
HOME ITEM
This item has a variety of functionality that appears on the home page.
Name
This will appear on the browser tab as part of the label.
Enable Automatic Banners
When this setting is enabled homepage banners will be automatically added based on the products you sell in your store. These banners will appear in a carousel on the home page. This will work with Custom Banners.
Custom Banners
Add your own custom banners or use ones from https://seller.tcgplayer.com/welcome-to-our-media-library. The banners will appear in a carousel on the home page. The image sizes should be 3840x960 pixels. This will work with Automatic Banners.
Social Widgets
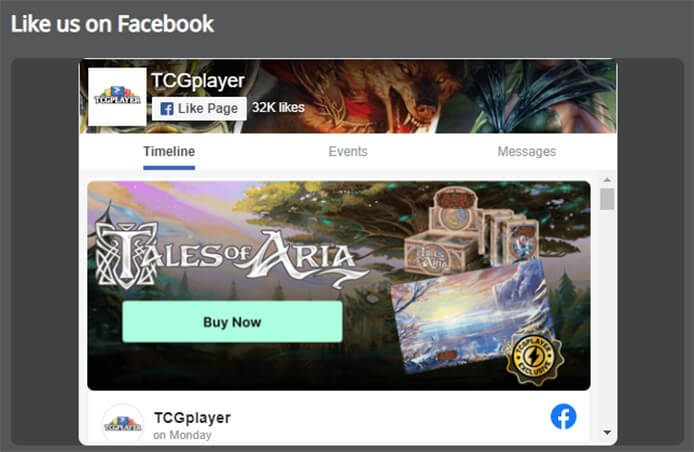
Enter your social media links here to add a widget on the home page that shows that social media item. The text you add in the Headline will appear above the widget.

Here is an example of how this would look on the website.

BUYLIST ITEM
This adds a menu item that will display your Buy List.
Name
This is the text that will appear on the menu item.
Disable Menu Item
Select this if you don’t want the Buylist to appear in the menu bar.
EVENTS CALENDAR ITEM
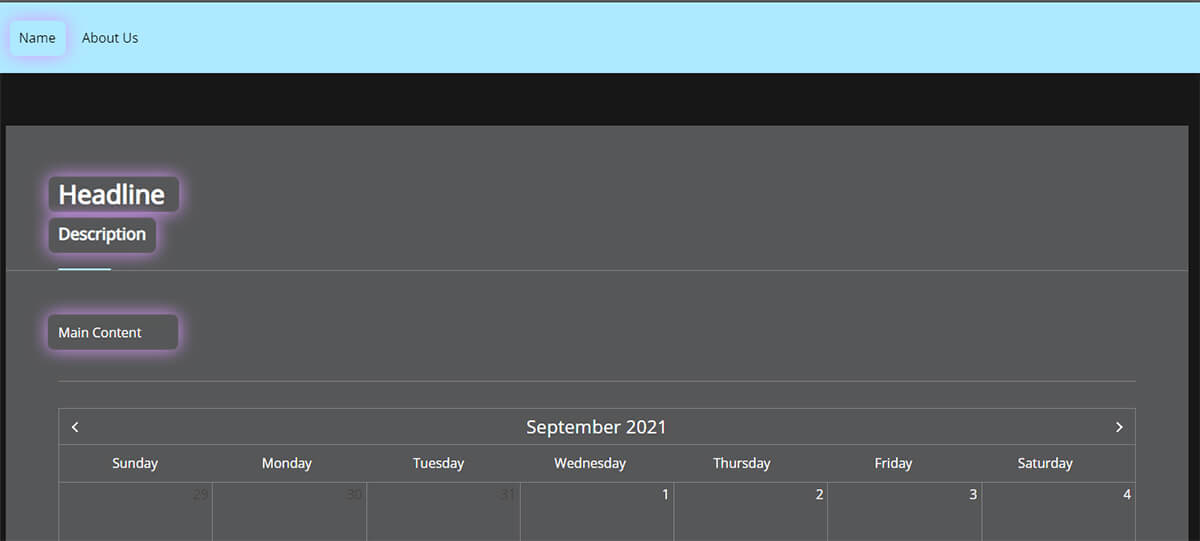
This will add a menu item that will display a Google Calendar. The screenshot below shows where the text areas will appear on the page.
Name
This text will appear on the menu item in the menu bar.
Headline
This text will appear on the top of the page.
Description
This text will appear just below the Headline.
Main Content
This text will appear below the Description.
Google Calendar IDs
This is the Google ID for the calendar you want to display.
Disable Menu Item
Select this if you don’t want the Calendar Event to appear in the menu bar.

LINK ITEM
This will add a menu item that will point to a URL you set.
Name
This text will appear on the menu item in the menu bar.
URL
Add the URL that you want the link to point to.
Disable Menu Item
Select this if you don’t want the Link to appear in the menu bar.
PRODUCT MENU ITEM
This will add a menu item that will display a specific product line, like Magic the Gathering.
Product Line
Select one of the individual product lines or select "All" to create a menu item featuring all the product lines you sell in your store.
Name
This text will appear on the menu item in the menu bar.
Disable Menu Item
Select this if you don’t want the Product to appear in the menu bar.
STANDARD PAGE ITEM
This will add a menu item that will display a Google Calendar.
Name
This text will appear on the menu item in the menu bar.
Headline
This text will appear at the top of the page.
Description
This text will appear just below the Headline.
Main Content
This text will appear below the Description.
Disable Menu Item
Select this if you don’t want the Standard Page to appear in the menu bar.